Homemade iPhone Ringtones

 Do you have an iTunes library full of legit iTunes music, some of which you want to turn into ringtones for your iPhone? This tutorial shows you how to use Apple's GarageBand to make iPhone Ringtones out of regular, unprotected song files (Songs ripped from CDs etc). It will not work on Songs you purchased from the iTunes Music Store.
This tutorial was made with iTunes 8 and GarageBand 4.1
You may have to improvise if you are using different versions
There is a faster way to make ringtones in GarageBand. If you are familiar with GarageBand, you can just set the loop bar to the 30 seconds you want, and 'Share' the song directly to iTunes as a ringtone. But if that makes no sense to you, then follow these instructions...
December 4th, 2008
Step 1
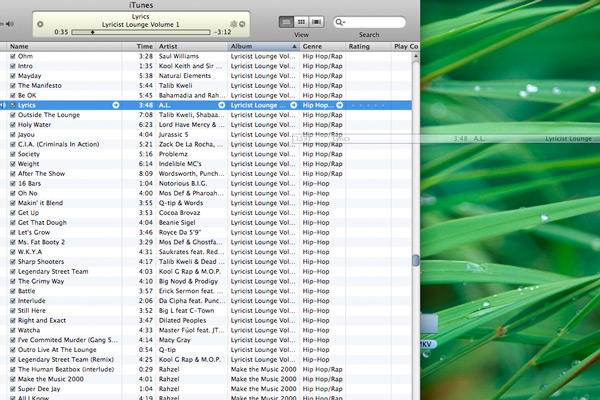
Drag the song you want to use out of your iTunes library, to your desktop (this will make a copy)
Step 2
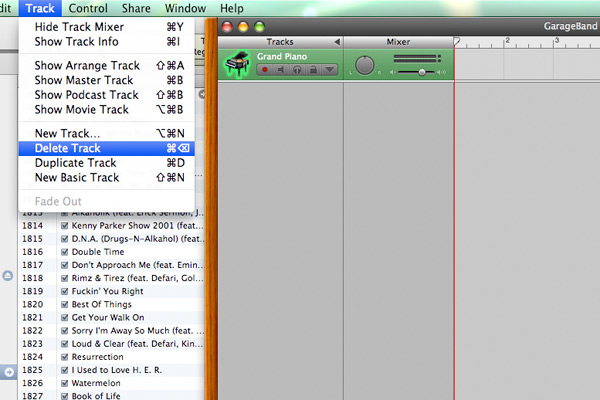
Open GarageBand. My GarageBand defaults to a Grand Piano track. So click on this track, go to the "Track" menu, and choose "Delete Track"
Step 3
Drag the song you are going to use from your desktop (or direct from iTunes) into GarageBand (Also remember this procedure does not work with protected song files purchased from the iTunes Music Store).

Step 4
Once you've listened to the song and know exactly what 30 second chunk you want to make a ringtone out of...
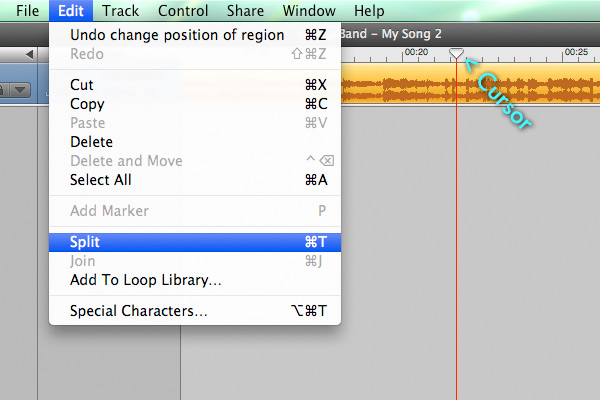
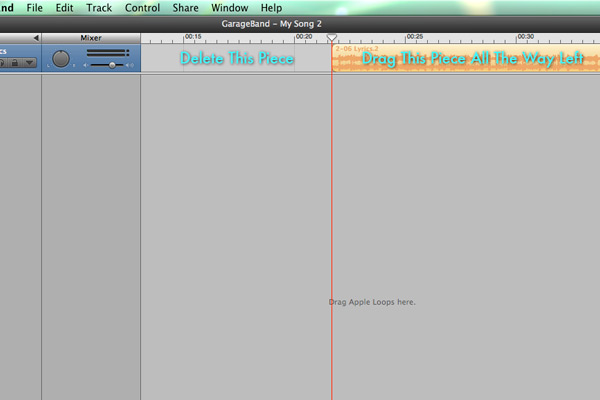
Place the cursor where you want the ringtone to begin
Click on the music to make sure it's selected, then go to the "Edit" menu and choose "Split"
Step 5
Click on the part of the song before (to the left) of where you just split. Hit delete to delete that chunk.
Click on the remaining song and drag it all the way to the left so it's at the beginning of the file.
Step 6
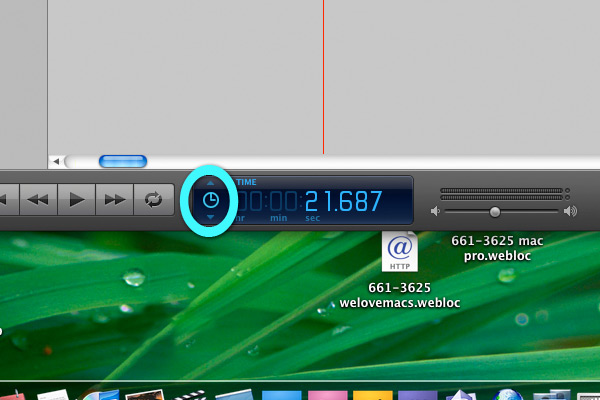
The next part will be much easier if you make sure the display at the bottom of the GarageBand window is set to display time, not measures or anything else. Just click the up and down arrows until it shows time
Step 7
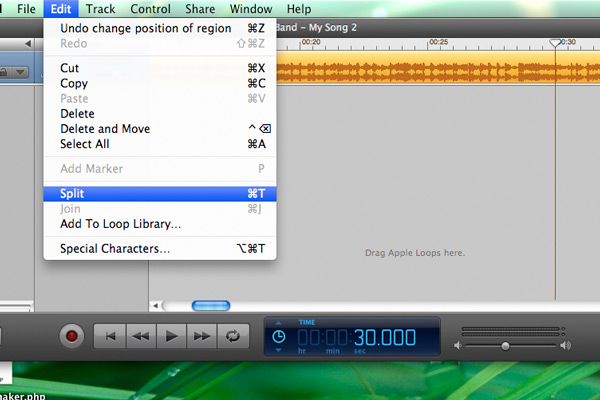
Drag the cursor exactly 30 seconds into the audio track
Click on the track and choose "Split" from the "Edit" menu
Step 8
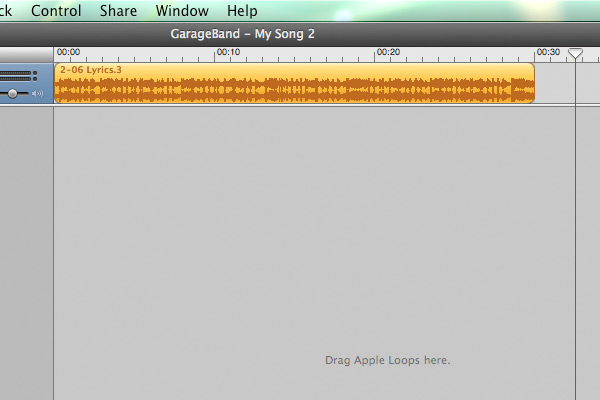
Click on the piece of the track that is after (to the right) the cursor, where you just split the track. Hit delete.
At this point, you should have a song file that is exactly 30 seconds long, and is exactly the stretch of audio you want for a ringtone. If it's not right, you'll want to start this process over.
Step 9
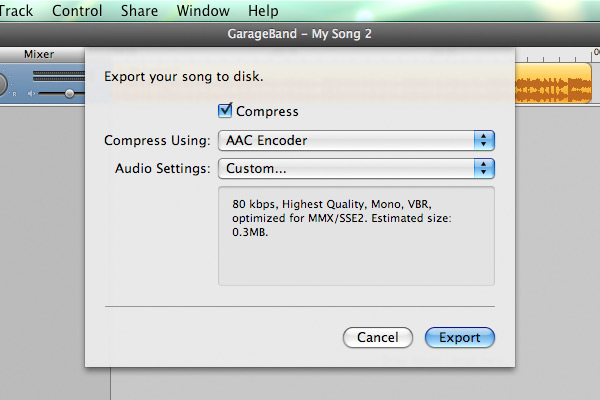
Go to the "Share" menu and choose "Export Song to Disk..."
Make sure the "Compress" check box is checked
Choose "AAC Encoder"
Click on the "Audio Settings" menu and choose "Custom..." even if it's already chosen
This should bring up another window with more advanced audio settings
Step 10
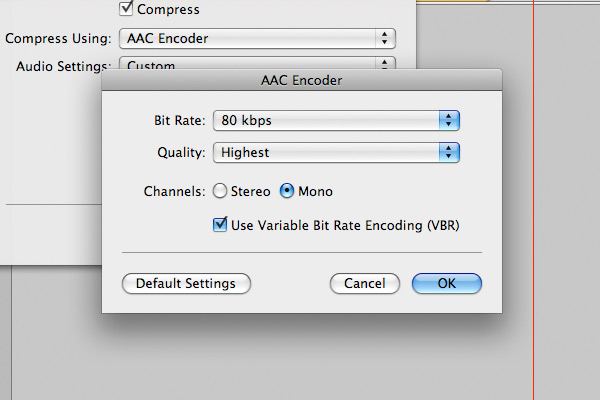
These are the settings I like:
Bit Rate: 80 kbps
Quality: Highest
Channels: Mono
Use VBR (Checked)
The bit rate may seem low, but remember its only compressing half the audio, since its only in Mono. And Mono is all you need since as a ringtone, you're only going to hear this sound file played through the iPhone's single, external, not so great for music listening external speaker. But if you want to, you could always make it Stereo, and at a higher bit rate. That's kind of a waste of space though.
Now click "OK"
Then click "Export"
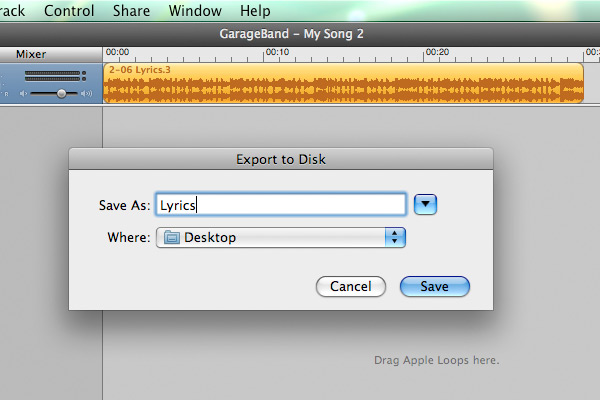
Step 11
Choose a name for your song, and a location to save it. Your Desktop should be fine.
Step 12
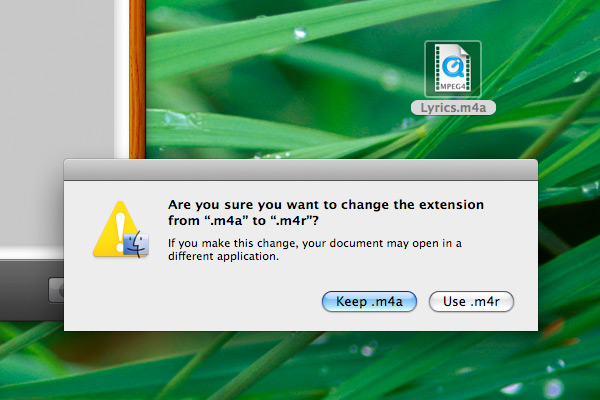
Go to wherever your saved the file.
Click on it and hit return. Change the extension of the file from ".m4a" to ".m4r"
Hit return again to rename the file. When the Finder asks you to confirm changing the extension, do it.
Step 13
Drag your newly created audio file into your iTunes library
Step 14
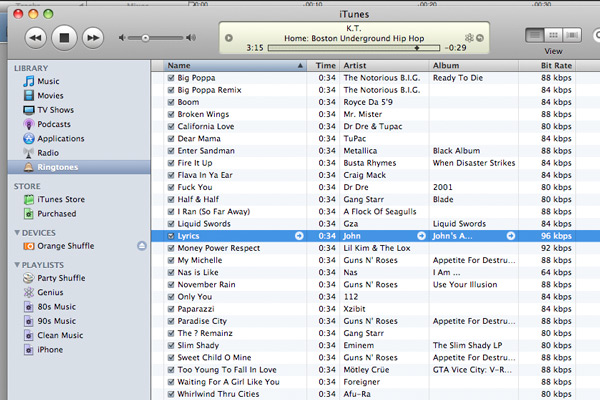
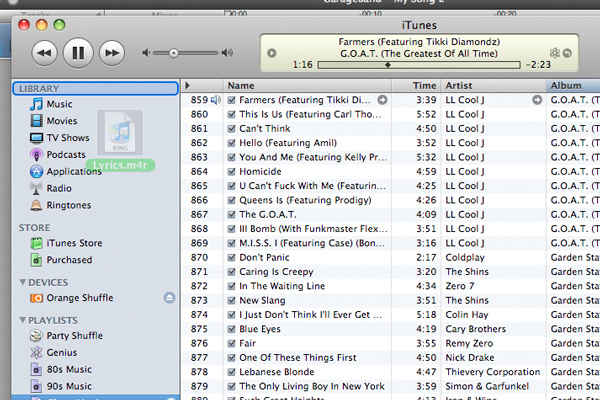
Your new ringtone should now show up under Ringtones in your iTunes library.
Also note that the Tag data is gone, so you're going to have to get info on the song and re-add the Artist, Album, Song Name etc.
Also, GarageBand adds 4 seconds of silence to the end of any song you export out of it. Don't know why, but all your ringtones will show up in iTunes as 34 second tracks. They still work fine so don't sweat it.
And finally, if you used Variable Bit Rate, the Bit Rate that displays in iTunes could be much different then what you chose in GarageBand. Again, don't sweat it.